我正在尝试在文本上创建渐变,我使用UIGraphics来使用渐变图像来创建它.我遇到的问题是渐变正在重新启动.有谁知道如何缩放渐变以拉伸到文本?
文本在线框上,将被更改几次.有时它会很完美但有时则不是.
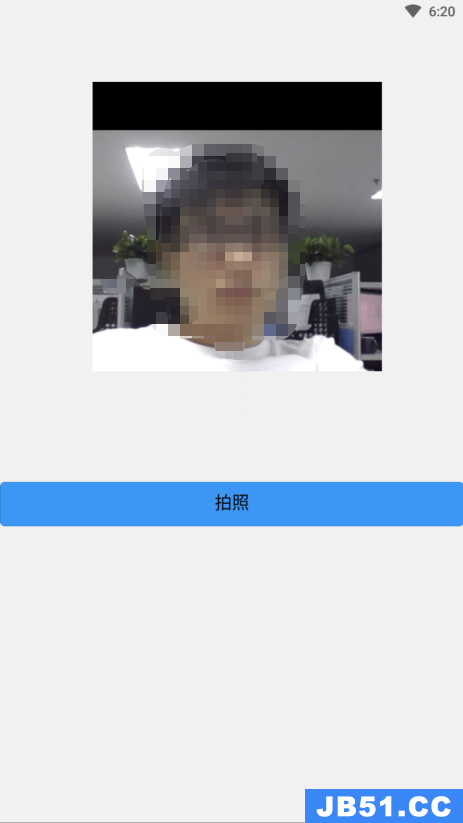
渐变应该从黄色变为蓝色但重新开始,请参见下面的照片:
import UIKit

func colourTextWithGrad(label: UILabel) {
    UIGraphicsBeginImageContext(label.frame.size)
    UIImage(named: "testt.png")?.drawInRect(label.bounds)
    let myGradient: UIImage = UIGraphicsGetimageFromCurrentimageContext()
    UIGraphicsEndImageContext()

    label.textColor = UIColor(patternImage: myGradient)

}
解决方法
每次标签大小更改时,您都必须重新绘制图像
这是因为图案化的UIColor只能进行平铺.从the documentation开始:
During drawing,the image in the pattern color is tiled as necessary to cover the given area.
因此,当标签的边界发生变化时,您需要自己更改图像大小 – 因为图案图像不支持拉伸.为此,您可以继承UILabel,并覆盖layoutSubviews方法.这样的事情应该达到预期的效果:
class GradientLabel: UILabel {

    let gradientimage = UIImage(named:"gradient.png")

    override func layoutSubviews() {

        guard let grad = gradientimage else { // skip re-drawing gradient if it doesn't exist
            return
        }

        // redraw your gradient image
        UIGraphicsBeginImageContext(frame.size)
        grad.drawInRect(bounds)
        let myGradient = UIGraphicsGetimageFromCurrentimageContext()
        UIGraphicsEndImageContext()

        // update text color
        textColor = UIColor(patternImage: myGradient)
    }
}
虽然值得注意的是我总是喜欢自己画一个渐变 – 因为你可以有更大的灵活性(比如说你想稍后添加另一种颜色).当您以不同的尺寸重绘图像时,图像的质量可能会降低(尽管由于渐变的性质,这应该是相当小的).
您可以通过覆盖UILabel子类的drawRect来简单地绘制自己的渐变.例如:
override func drawRect(rect: CGRect) {

    // begin new image context to let the superclass draw the text in (so we can use it as a mask)
    UIGraphicsBeginImageContextWithOptions(bounds.size,false,0.0)
    do {
        // get your image context
        let ctx = UIGraphicsGetCurrentContext()

        // flip context
        CGContextScaleCTM(ctx,1,-1)
        CGContextTranslateCTM(ctx,-bounds.size.height)

        // get the superclass to draw text
        super.drawRect(rect)
    }

    // get image and end context
    let img = UIGraphicsGetimageFromCurrentimageContext()
    UIGraphicsEndImageContext()

    // get drawRect context
    let ctx = UIGraphicsGetCurrentContext()

    // clip context to image
    CGContextClipToMask(ctx,bounds,img.CGImage)

    // define your colors and locations
    let colors = [UIColor.orangeColor().CGColor,UIColor.redColor().CGColor,UIColor.purpleColor().CGColor,UIColor.blueColor().CGColor]
    let locs:[CGFloat] = [0.0,0.3,0.6,1.0]

    // create your gradient
    let grad = CGGradientCreateWithColors(CGColorSpaceCreateDeviceRGB(),colors,locs)

    // draw gradient
    CGContextDrawLinearGradient(ctx,grad,CGPoint(x: 0,y:bounds.size.height*0.5),CGPoint(x:bounds.size.width,CGGradientDrawingOptions(rawValue: 0))

}
输出:
斯威夫特4&作为子类
class GradientLabel: UILabel {

    // MARK: - Colors to create gradient from
    @IBInspectable open var gradientFrom: UIColor?
    @IBInspectable open var gradientTo: UIColor?

    override func draw(_ rect: CGRect) {
        // begin new image context to let the superclass draw the text in (so we can use it as a mask)
        UIGraphicsBeginImageContextWithOptions(bounds.size,0.0)
        do {
            // get your image context
            guard let ctx = UIGraphicsGetCurrentContext() else { super.draw(rect); return }
            // flip context
            ctx.scaleBy(x: 1,y: -1)
            ctx.translateBy(x: 0,y: -bounds.size.height)
            // get the superclass to draw text
            super.draw(rect)
        }
        // get image and end context
        guard let img = UIGraphicsGetimageFromCurrentimageContext(),img.cgImage != nil else { return }
        UIGraphicsEndImageContext()
        // get drawRect context
        guard let ctx = UIGraphicsGetCurrentContext() else { return }
        // clip context to image
        ctx.clip(to: bounds,mask: img.cgImage!)
        // define your colors and locations
        let colors: [CGColor] = [UIColor.orange.cgColor,UIColor.red.cgColor,UIColor.purple.cgColor,UIColor.blue.cgColor]
        let locs: [CGFloat] = [0.0,1.0]
        // create your gradient
        guard let grad = CGGradient(coloRSSpace: CGColorSpaceCreateDeviceRGB(),colors: colors as CFArray,locations: locs) else { return }
        // draw gradient
        ctx.drawLinearGradient(grad,start: CGPoint(x: 0,y: bounds.size.height*0.5),end: CGPoint(x:bounds.size.width,options: CGGradientDrawingOptions(rawValue: 0))
    }
}
版权声明:本文内容由互联网用户自发贡献,该文观点与技术仅代表作者本人。本站仅提供信息存储空间服务,不拥有所有权,不承担相关法律责任。如发现本站有涉嫌侵权/违法违规的内容, 请发送邮件至 dio@foxmail.com 举报,一经查实,本站将立刻删除。