目录
React 快速上手 - 04 基础特性 JSX、Props、State、Lifecycle、Event、Style
目标
掌握 react 的基础特性
- 语法 JSX
- 属性 Props
- 状态 State
- 生命周期 Lifecycle
- 事件 Event
- 样式 Style
基础特性
react.js 本身只是一个精简的类库,提供了几个特性或者说是工具,每个话题深入都可以长篇大论。
我这里只关注使用,毕竟轮子造出来还是用的,而不是观赏。
1. JSX 语法
我的理解 jsx 就是 html + 表达式 的混合体
1.1 请用 ( ... ) 把 jsx 代码包含起来
const Element1 = () => (<h2>组件1 - 常量</h2>)
这样写的理由
- 低版本的兼容性
- 多行书写不会报错
当然新版里如果你单行可以省略
1.2 必须有个顶级标签
错误
let Element4 = () => {
  return (
    <h2>组件4 - es6 箭头函数</h2>
    <h2>组件4 - es6 箭头函数</h2>
  )
}

正确
let Element4 = () => {
  return (
    <div>
      <h2>组件4 - es6 箭头函数</h2>
      <h2>组件4 - es6 箭头函数</h2>
    </div>
  )
}
如果你只有一个标签,自己本身就是顶级标签,无需加
1.3 { ... } 开始你的js表达式
function ElementShow(props) {
  return (
    <div>
      <p>字符串: {props.name} </p>
      <p>日期变量: {props.date.toLocaleTimeString()}</p>
    </div>
  )
}
1.4 对于没有子元素的标签来说,请关闭标签
<div>
  <ElementProps />
</div>
结束符 /
codepen
https://codepen.io/ducafecat/...
2. 属性 Props
2.1 属性值 都是只读的
function ElementShow(props) {
  props.isShow = true // 只读不能修改
  ...
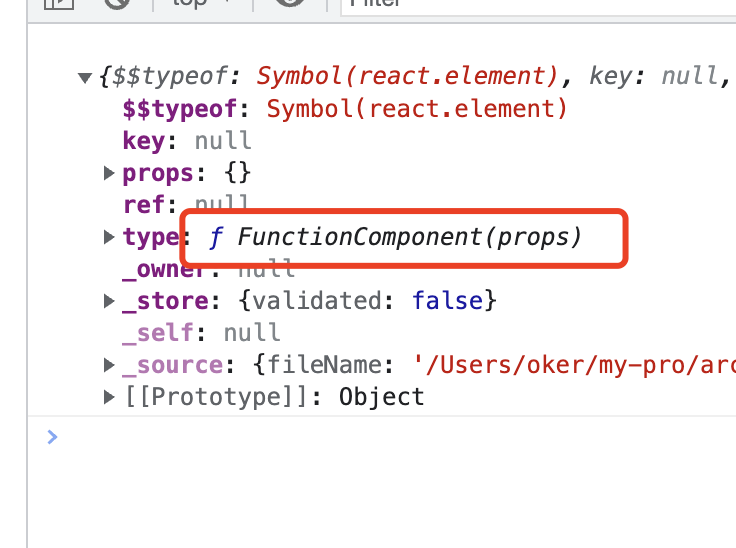
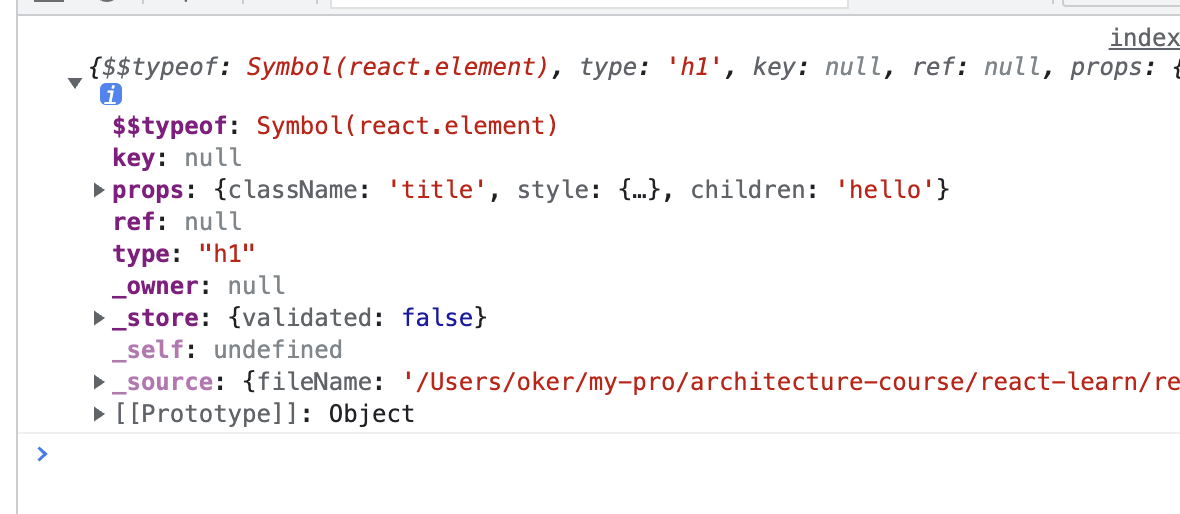
打印截图
2.2 特殊的几个 属性值
记忆就行,和我们之前写 html 有些差异
我看着都是因为 js 中保留字关系
| jsx | html |
|---|---|
| tabIndex | index |
| className | class |
| htmlFor | for |
示例
const ElementProps = () => (
  <div tabIndex="0" className="divbg" >
    JSX 属性 tabIndex、className
  </div>
)
2.3 默认使用驼峰格式 camelCase
错误
<Foo
  UserName="hello"
  phone_number={12345678}
/>

正确
<Foo
  userName="hello"
  phoneNumber={12345678}
/>
2.4 如果属性值为 true,可以直接省略
错误
<Foo
  hidden={true}
/>

正确
<Foo
  hidden
/>
2.5 key 属性是怎么回事
示例
<ul>
  {NavRoutes.map((route,index) => (
    <li key={route.id}>
      {route.title}
    </li>
  ))}
</ul>
如果不写呢
看来是绕不过的
总结
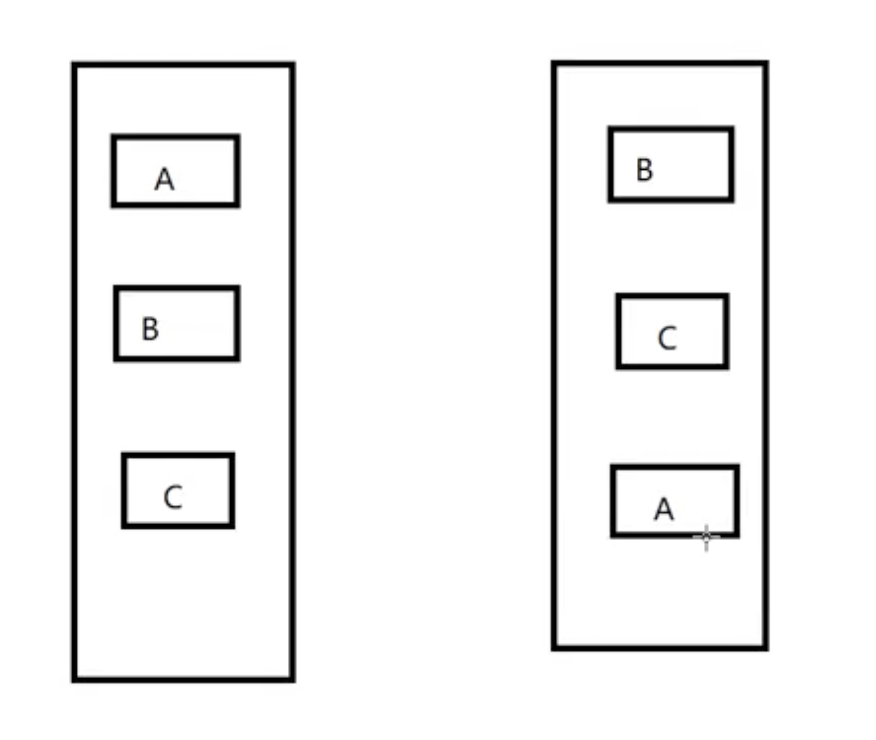
react利用key来识别组件,它是一种身份标识标识
同层的唯一就行,不用全局唯一
避免使用数组的index作为key值
2.6 防注入攻击
const jsContent = `
<script type="text/javascript">
alert("JSX 防注入攻击!")
</script>`
const ElementInject = () => <div>{jsContent}</div>
打印
内容在渲染之前都被转换成了字符串,这样可以有效地防止 XSS(跨站脚本) 攻击
2.7 childen 表示子节点对象
这个属性表示,当前组件嵌套的对象集合
render() {
  return(
    <RadioGroup>
      <RadioButton value="first">First</RadioButton>
      <RadioButton value="second">Second</RadioButton>
      <RadioButton value="third">Third</RadioButton>
    </RadioGroup>
  )
}
RadioGroup的props.childen就是这三个RadioButton
你可能会问这有什么用,我们可以用来加工呀,各种循环、克隆、修改,当然我是不太推荐这样去修改 dom 对象
codepen
https://codepen.io/ducafecat/...
3. 状态 State
组件内部的数据管理对象,自动状态控制
有的同学可能对 MVVM 比较了解,一定会说 React 怎么没有双向绑定
这可能就是设计思想问题了,不想给工具赋予过多负重,轻巧才灵活,下一章,我会通过一个函数解决双向绑定来处理表单操作,就几行代码
这里我们还是谈谈基础操作,懂得同学可以 PASS
3.1 初始化
class ElementStateStatic extends Component {
  constructor(props) {
    super(props)
    this.state = {date: new Date()}
  }
  render() {
    return <p>初始时间 => {this.state.date.toLocaleString()}</p>
  }
}
constructor是组件构造函数,给this.state初始值时 要用key/val形式的对象
jsx中使用时直接this.state.data对象调用即可
3.2 更新
class ElementStateUpdate extends Component {
  constructor(props) {
    super(props)
    this.date = props.date
    this.state = {date: new Date()}
  }
  componentDidMount() {
    if (this.date !== undefined) {
      // 传值方式
      this.setState({date: this.date})
      // 函数方式
      // this.setState((state,props) => {
      //   return {date: this.date}
      // })
    }
  }
  render() {
    return <p>更新时间 => {this.state.date.toLocaleString()}</p>
  }
}
需要使用
this.setState 函数设置
简单操作,直接 传入 key / value 的对象
- 如果需要之前的
state或者组件属性props,需要写成
this.setState((state,props) => {
  let date = state.data
  date = date.addDay(10)
  return {date}
})
codepen
https://codepen.io/ducafecat/...
4. 生命周期 Lifecycle
4.1 组件有三种状态
| 状态 | 说明 |
|---|---|
| Mount | 已插入真实 DOM |
| Update | 正在被重新渲染 |
| Unmount | 已移出真实 DOM |
4.2 组件周期函数
| 状态 | 说明 |
|---|---|
| componentDidMount | 在第一次渲染后调用,只在客户端。 |
| shouldComponentUpdate | 返回一个布尔值。在组件接收到新的props或者state时被调用。 |
| componentDidUpdate | 在组件完成更新后立即调用。在初始化时不会被调用。 |
| componentwillUnmount | 在组件从 DOM 中移除的时候立刻被调用。 |
| getDerivedStateFromProps | 组件实例化后和接受新属性时将会调用 新增 |
| getSnapshotBeforeUpdate | 在最新的渲染输出提交给DOM前将会立即调用 新增 |
4.3 示例打印周期过程
class ElementLifecycle extends Component {
  constructor(props) {
    super(props)
    this.date = props.date
    this.state = {date: this.date}
  }
  componentDidMount() {
    console.log('componentDidMount 在第一次渲染后调用')
    if (this.date !== undefined) {
      this.setState({date: this.date})
    }
  }
  shouldComponentUpdate(nextProps,nextState) {
    console.log(
      'shouldComponentUpdate 在组件接收到新的props或者state时被调用',nextProps,nextState
    )
    return true // 返回一个布尔值,大家可以试着在这里返回 false
  }
  componentDidUpdate(prevProps,prevstate) {
    console.log(
      'componentDidUpdate 在组件完成更新后立即调用',prevProps,prevstate
    )
  }
  componentwillUnmount() {
    console.log('componentwillUnmount 在组件从 DOM 中移除的时候立刻被调用')
  }
  render() {
    return <p>时间 => {this.state.date.toLocaleString()}</p>
  }
}
打印截图
codepen
https://codepen.io/ducafecat/...
4.4 react 16.x 新版本变动
4.4.1 计划取消 3 个生命周期函数
分别是 componentwillMount,componentwillReceiveProps,componentwillUpdate
理由是在新的升级中,存在漏洞(在Facebook上,他们维护了超过50,000个React组件。 )
注意:
弃用警告将在未来的16.x版本中启用,但旧版生命周期将继续运行至17.x版。
即使在17.x版中,仍然可以使用它们,但它们会以『UNSAFE_』为前缀被重命名,以表明它们可能会引起问题。我们还准备了一个自动化的脚本来在现有代码中对它们重新命名。
UNSAFE_componentwillMount()UNSAFE_componentwillReceiveProps()UNSAFE_componentwillUpdate()
4.4.2 新增 getDerivedStateFromProps
组件实例化后和接受新属性时将会调用
// 组件
class ElementLifecycleNew extends Component {
  constructor(props) {
    super(props)
    this.state = {}
  }
  static getDerivedStateFromProps(nextProps,prevstate) {
    console.log(
      'getDerivedStateFromProps 组件实例化后和接受新属性时将会调用',prevstate
    )
    // return null // 无需改变 返回 null
    return {
      date: new Date('2011-11-11 11:11:11')
    }
  }
  render() {
    return <p>{this.state.date.toLocaleString()}</p>
  }
}

// 调用
<ElementLifecycleNew date={new Date('2009-09-09 09:09:09')} />
如果你不想改变状态 state,返回 null
4.4.3 新增 getSnapshotBeforeUpdate + componentDidUpdate
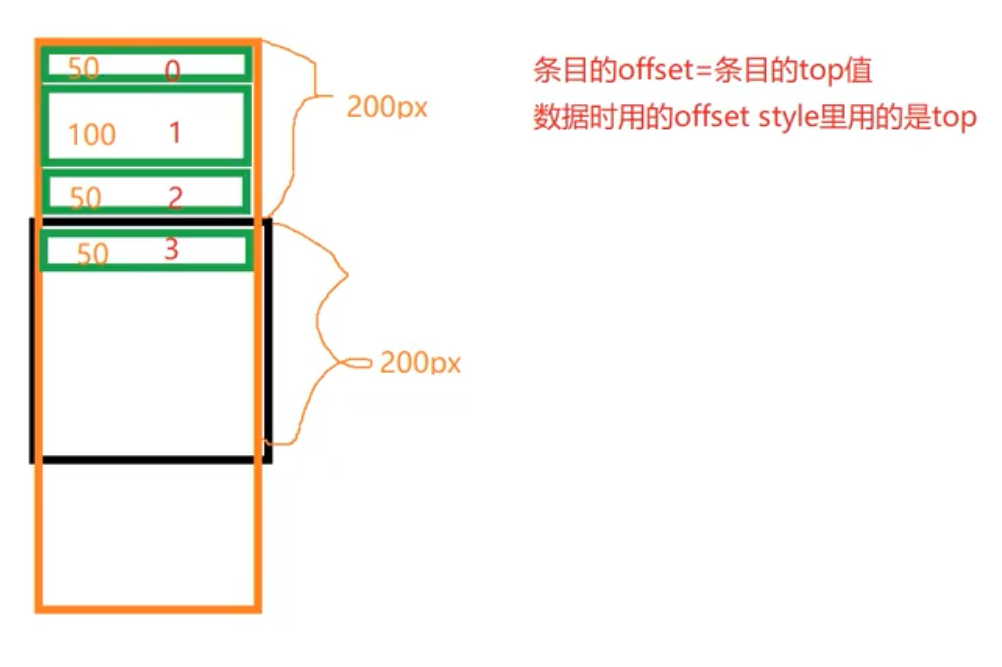
getSnapshotBeforeUpdate()在最新的渲染输出提交给DOM前将会立即调用。它让你的组件能在当前的值可能要改变前获得它们。这一生命周期返回的任何值将会 作为参数被传递给componentDidUpdate()。
// 代码
class ElementLifecycleNew2 extends Component {
  listRef = React.createRef()
  constructor(props) {
    super(props)
    this.state = {
      date: props.date
    }
  }
  componentDidMount() {
    console.log('componentDidMount')
    this.setState({date: new Date('2011-11-22 22:22:22')})
  }
  getSnapshotBeforeUpdate(prevProps,prevstate) {
    console.log('getSnapshotBeforeUpdate',prevstate,this.state)
    return {
      offset: 80
    }
  }
  componentDidUpdate(prevProps,snapshot) {
    console.log('componentDidUpdate',snapshot)
    this.listRef.current.style.top = `${snapshot.offset}px`
  }
  render() {
    return (
      <div
        style={{
          height: 200,width: 150,backgroundColor: 'blue',position: 'relative',color: '#fff'
        }}
      >
        <p>{this.state.date.toLocaleString()}</p>
        <div
          ref={this.listRef}
          style={{
            height: 20,backgroundColor: 'red',top: 0,position: 'absolute'
          }}
        />
      </div>
    )
  }
}

// 调用
这个例子的流程是:
1. `componentDidMount` 中修改了 state 触发 `getSnapshotBeforeUpdate`
2. `getSnapshotBeforeUpdate` 获取修改前的 属性、状态,已修改的 状态,然后一个修改值 `offset`
3. `componentDidUpdate` 中的 `snapshot` 获取修改值 ,直接 `ref` `dom` 修改 `style`
简单说就是不修改 state 更新机制,来维护
dom,比如改改 宽 高 位置
5. 事件 Event
在 react 里使用事件,写法很多,这里采用官方推荐的方式
5.1 无参数传递
- 采用非箭头函数定义事件
handleChange(e) {
    ...
  }
- 在构造函数时绑定事件
class InputView extends Component {
  constructor(props) {
    ...
    this.handleChange = this.handleChange.bind(this)
  }
使用
bind(this) 方式
- 绑定事件
<input
   ...
   onChange={this.handleChange}
/>
5.2 有参数传递
- 事件参数要放在最后
handleChangeVal(val,e) {
    console.log(val)
    this.setState({value: e.target.value})
  }
- 绑定事件
<input
  ...
  onChange={this.handleChangeVal.bind(this,'123')}
/>
5.3 例子
class InputView extends Component {
  constructor(props) {
    super(props)
    this.state = {value: ''}
    this.handleChange = this.handleChange.bind(this)
    this.handleSubmit = this.handleSubmit.bind(this)
  }
  handleChange(e) {
    this.setState({value: e.target.value})
  }
  handleChangeVal(val,e) {
    console.log(val)
    this.setState({value: e.target.value})
  }
  handleSubmit(e) {
    e.preventDefault() // 阻止事件
    console.log('handleSubmit')
  }
  render() {
    return (
      <form onSubmit={this.handleSubmit} style={{display: 'inline-flex'}}>
        <input
          type="text"
          value={this.state.value}
          onChange={this.handleChange}
        />
        <input
          type="text"
          value={this.state.value}
          onChange={this.handleChangeVal.bind(this,'123')}
        />
        <input type="submit" value="提交" />
        <p>{this.state.value}</p>
      </form>
    )
  }
}
codepen
https://codepen.io/ducafecat/...
6. 样式 Style
有两种方式维护样式
6.1 import 样式文件
-
base.css样式文件
.bg {
  background-color: rgb(101,40,241);
  color: white;
  font-weight: 500;
}
-
.js中引入
import './base.css'
6.2 直接编写 style
- 编写
style对象
const styles = {}

styles.fill = {
  position: 'relative',height: '200px',width: '500px'
}

...
- 传值使用
<div style={styles.fill}>...
- 混合使用
<div
    style={{
      ...styles.fill,...styles.hsl,background: `hsl(${params.h},${params.s}%,${params.l}%)`
    }}
  >
可以发现这样的写法,对编程控制样式还是很有用的
本文代码
参考
- Index as a key is an anti-pattern
- Introducing JSX
- Rendering Elements
- Components and Props
- State and Lifecycle
- Handling Events
- lists-and-keys.html
- React.Component
版权声明:本文内容由互联网用户自发贡献,该文观点与技术仅代表作者本人。本站仅提供信息存储空间服务,不拥有所有权,不承担相关法律责任。如发现本站有涉嫌侵权/违法违规的内容, 请发送邮件至 dio@foxmail.com 举报,一经查实,本站将立刻删除。


