一、修改文件最大打开数
sudo vim /etc/security/limits.conf
文件尾追加
* hard nofile 1000000
* soft nofile 1000000
二、修改环境编码
sudo apt-get install language-pack-zh-hans
sudo vim /etc/default/locale
添加
LANG="en_US.UTF-8"
LANGUAGE="en_US:en"
LC_ALL="en_US.UTF-8"
生效
source /etc/profile
二、添加用户
# 有sudo权限jtsa用户 运维人员使用
sudo useradd jtsa -m -s /bin/bash
sudo passwd jtsa
sudo usermod -a -G sudo jtsa

# 有sudo权限jtserver用户 开发人员使用
sudo useradd jtserver -m -s /bin/bash
sudo passwd jtserver
sudo usermod -a -G sudo jtserver

# 无sudo权限jtjt用户 开发人员使用
sudo useradd jtjt -m -s /bin/bash
sudo passwd jtjt
三、修改ssh登录
sudo vim /etc/ssh/sshd_config 允许密码登录
将PasswordAuthentication改为yes
将Port改为36000
sudo service ssh restart
四、登录jtserver,添加ssh公钥和秘钥、添加authorized_keys
ssh-keygen -t rsa -C "jitui@jituia.com"
vim ~/.ssh/authorized_keys 添加本地电脑id_rsq.pub
chmod 600 ~/.ssh/authorized_keys
五、修改hostname
sudo vim /etc/hostname改为aws
sudo vim /etc/hosts添加127.0.0.1 aws
生效hostname sudo hostname -F /etc/hostname
重新登录
六、haproxy安装
sudo add-apt-repository ppa:vbernat/haproxy-1.7
sudo apt-get update
sudo apt-get install haproxy
haproxy -v
七、nginx、git安装
sudo add-apt-repository ppa:nginx/stable
sudo apt-get update
sudo apt-get install nginx

sudo add-apt-repository ppa:git-core/ppa
sudo apt-get update
sudo apt-get install git
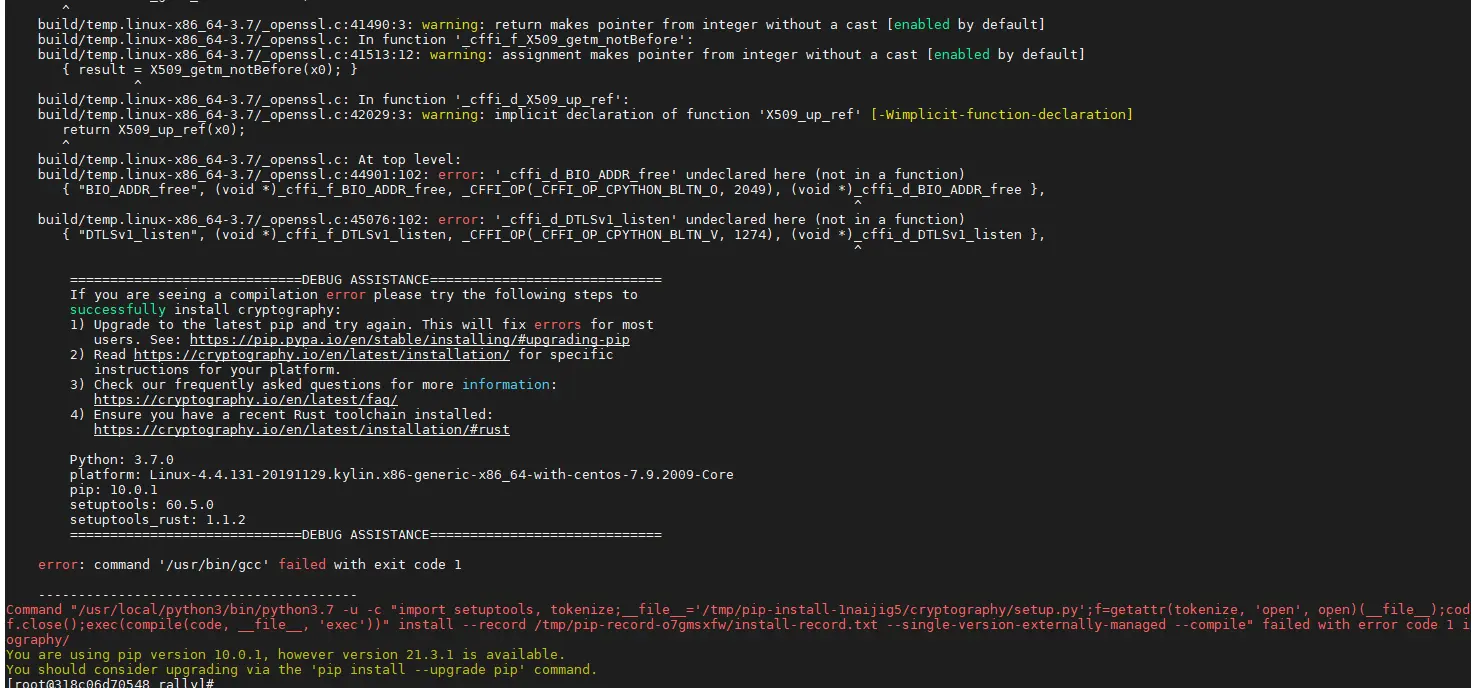
八、python环境
[supervisor deb包下载](http://ftp.debian.org/debian/pool/main/s/supervisor/)
sudo dpkg -i supervisor_3.3.1-1_all.deb
sudo apt-get install python-pip python-dev build-essential
sudo apt-get install uwsgi uwsgi-plugin-python
sudo apt-get install uwsgi-plugin-python3
九、redis安装
sudo apt-get install -y python-software-properties
sudo apt-get install software-properties-common
# sudo add-apt-repository -y ppa:rwky/redis
sudo add-apt-repository ppa:chris-lea/redis-server
sudo apt-get update
sudo apt-get install -y redis-serve
十、ssh登录
- 添加密钥到ssh-agent
eval "$(ssh-agent -s)"
- 生成ssh key,或者重新覆盖
# -f ~/.ssh/id_rsa -f 文件名
ssh-keygen -t rsa -C "test@jituia.com"
- 把专用密钥添加到 ssh-agent 的高速缓存中
ssh-add ~/.ssh/id_rsa
- ssh设置不用密码登陆,复制本地id_rsa.pub追加到到服务器.ssh/authorized_keys
sudo vim /etc/ssh/sshd_config
RSAAuthentication yes
PubkeyAuthentication yes
AuthorizedKeysFile %h/.ssh/authorized_keys
- 修改.ssh文件权限
# authorized_keys权限必须为600,不然出现Authentication refused: bad ownership or modes
chmod 755 ~/.ssh
chmod 600 ~/.ssh/authorized_keys
# 重启ssh服务
sudo service ssh restart
# 排查authorized_keys不生效,查询/var/log/auth/log文件
问题
1.Depends: init-system-helpers (>= 1.18~) b
wget http://launchpadlibrarian.net/173841617/init-system-helpers_1.18_all.deb
sudo dpkg -i init-system-helpers_1.18_all.deb
- 打开网址,选择源地址
wget -O- http://neuro.debian.net/lists/trusty.cn-bj1.full | sudo tee /etc/apt/sources.list.d/neurodebian.sources.list
sudo apt-key adv --recv-keys --keyserver hkp://pool.sks-keyservers.net:80 0xA5D32F012649A5A9
sudo apt-get update
sudo apt-get install init-system-helpers
2.supervisor depends on python-meld3
sudo apt-get install python-meld3
3.保存ssh长链接
服务器/etc/ssh/sshd_config添加
ClientAliveInterval 60
ClientAliveCountMax 5

本地服务器/etc/ssh/sshd_config添加
Host *
    TCPKeepAlive yes
    ServerAliveInterval 60
4.修改服务器时区
一、运行tzselect,在这里我们选择亚洲 Asia,确认之后选择中国(China),最后选择北京(Beijing)
sudo tzselect

二、复制文件到/etc目录下
sudo cp /usr/share/zoneinfo/Asia/Shanghai  /etc/localtime

三、更新时间,cn.pool.ntp.org是位于中国的公共NTP服务器
sudo ntpdate cn.pool.ntp.org
版权声明:本文内容由互联网用户自发贡献,该文观点与技术仅代表作者本人。本站仅提供信息存储空间服务,不拥有所有权,不承担相关法律责任。如发现本站有涉嫌侵权/违法违规的内容, 请发送邮件至 dio@foxmail.com 举报,一经查实,本站将立刻删除。