

上文成功运行输出了helloworld。但这并不能算是正在的体现了Django的MTV模型,实际上是将数据与视图混合在一起,这次进阶一步,使用模板(Templates)。模板是一个文本(Templates),用于分离文档的表现形式和内容。
Templates 之 变量
使用的函数介绍
render ()
render()函数
传递context来填充模板
help文档中render描述
render(request, template_name, context=None, content_type=None, status=None, using=None)参数:
request: 是一个固定参数
template_name: templates中定义的文件,注意路径名。比如:“templates/polls/index.html”, 则参数这样写:“polls/index.html”
context: 要传入文件中用于渲染呈现的数据, 默认是字典格式
content_type: 生成的文档要使用的MIME 类型。默认为DEFAULT_CONTENT_TYPE 设置的值。
status: http的响应代码,默认是200.
using: 用于加载模板使用的模板引擎的名称。
os.path.join()函数:python路径拼接os.path.join()函数的用法 - AL叶子 - 博客园
Templates 之变量小实验
实验步骤以及源码
在你的学习文件夹中打开powershell
django-admin startproject context在context文件夹中创建templates目录,并且建立index.html文件。在context文件夹里创建view.py
整个文件夹目录结构如下
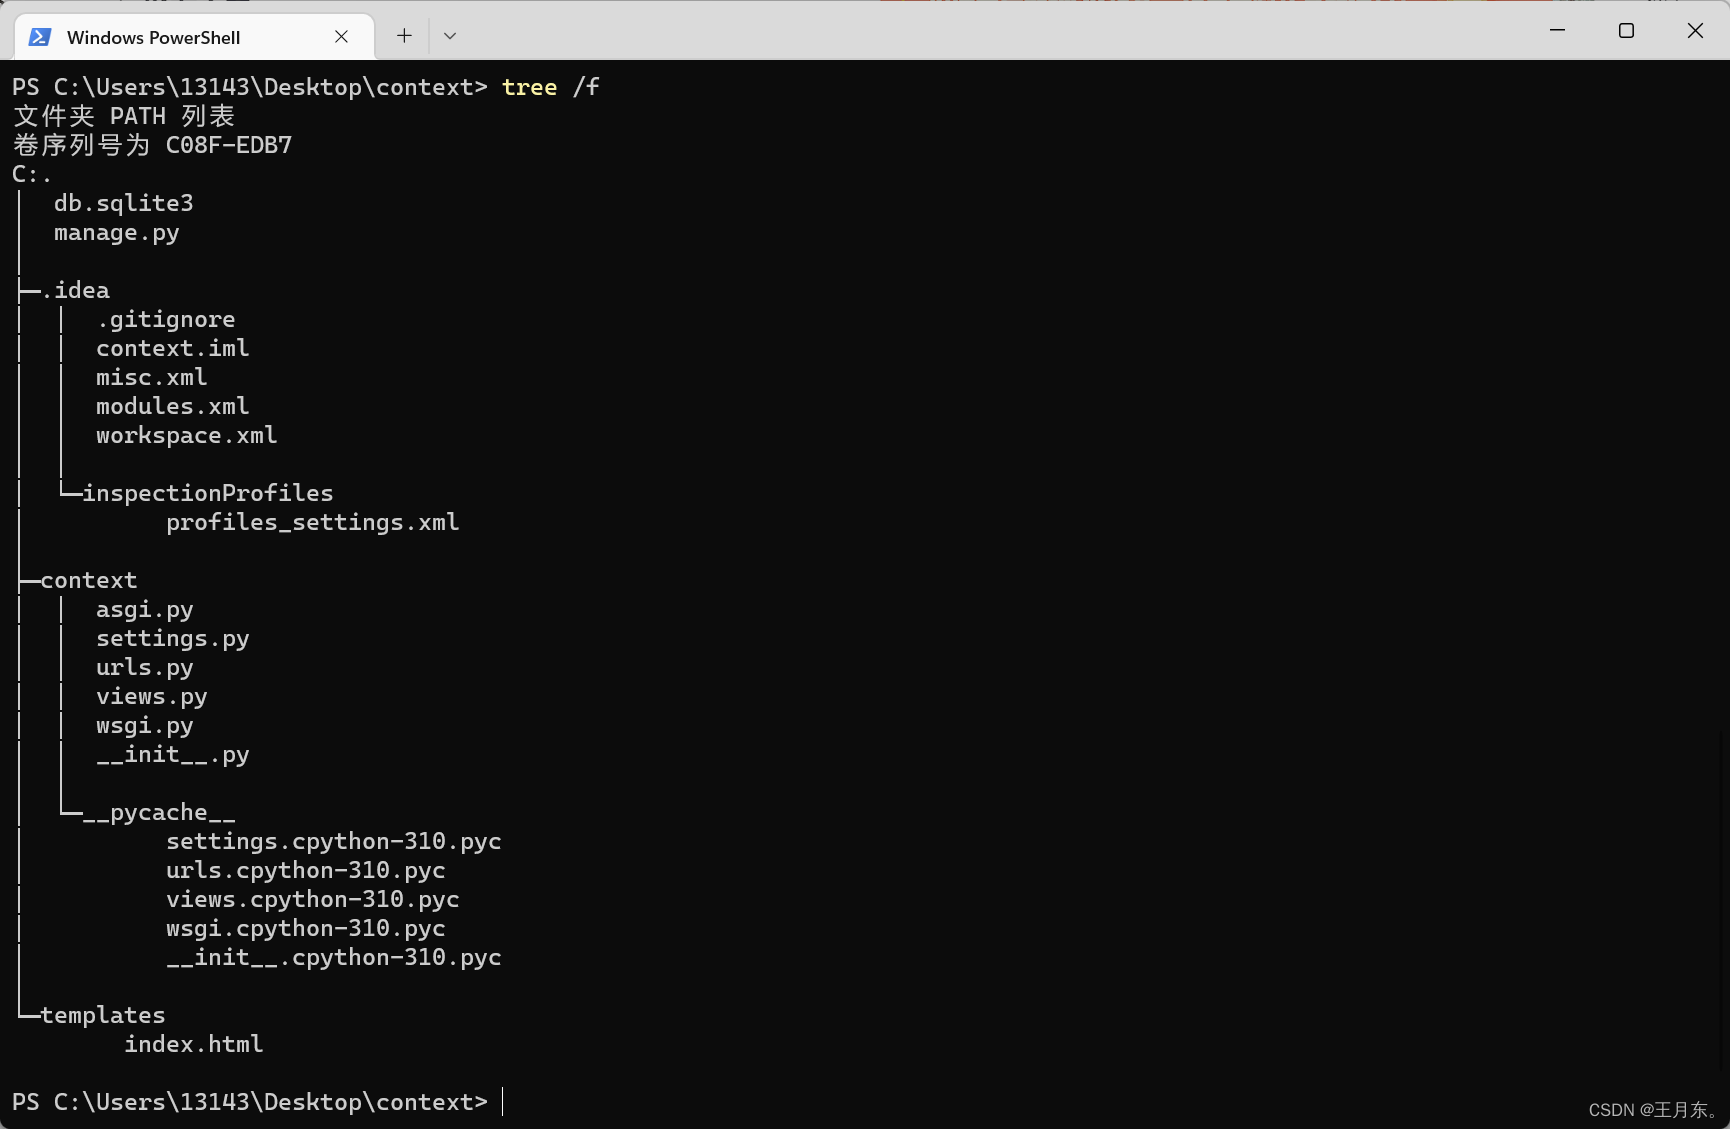
出现的idea文件夹,pyche__文件夹以及db.sqlite3文件忽略,有无这些对此实验无影响。
以下是index.html的内容
<!DOCTYPE html>
<html lang="en">
<head>
    <Meta charset="UTF-8">
    <title>templates之变量</title>
</head>
<body>
<h1>{{ hello }}</h1>
</body>
</html>以下是views.py的内容
from django.shortcuts import render


def mission1(request):
    context = {'hello': 'Hello World!'}
    return render(request, 'index.html', context)
以下是urls.py的内容
from django.contrib import admin
from django.urls import path
from . import views

urlpatterns = [
    path('index/', views.mission1),
]
TEMPLATES = [
    {
        'BACKEND': 'django.template.backends.django.DjangoTemplates',
        'Dirs': [os.path.join(BASE_DIR, 'templates')],  //此处,其他地方不用动
        'APP_Dirs': True,
        'OPTIONS': {
            'context_processors': [
                'django.template.context_processors.debug',
                'django.template.context_processors.request',
                'django.contrib.auth.context_processors.auth',
                'django.contrib.messages.context_processors.messages',
            ],
        },
    },
]
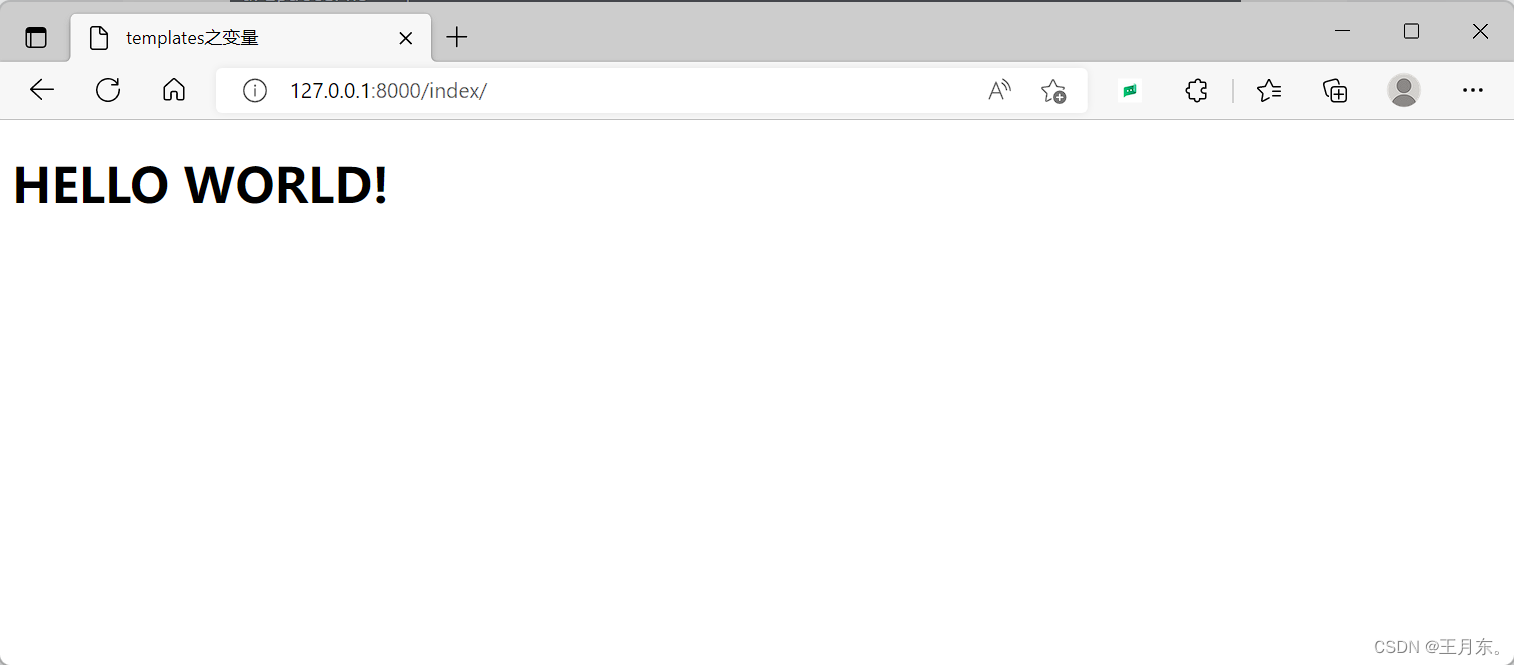
运行manage.py,在浏览器内输入127.0.0.1:8000/index,出现下图即为试验成功
实操报错以及解决
如果报错TemplateDoesNotExist ,问题则出现在
os.path.join(BASE_DIR, 'templates')
这一句的设置中,这一句话是指到“BASE_DIR/templates”文件夹中去取模板。BASE_DIR指定的其实是第一层的Hello World文件夹,而templates在第二层Hello World文件夹,所以一直提示错误。注意BASE_DIR是manage.py文件的所在路径.
解决方法就是:templates文件夹放错了位置。详细的tree图在楼上。
实验分析
这次试验使用了render函数来代替上次使用的HttpResponse。并且使用字典‘context’来进行传参
context字典中的hello对应了模板中变量 {{ hello }} 由此从模板中我们知道变量使用了双括号。
用户输入url进行访问,根据url.py匹配相应的视图函数给到view.py。其中view.py中定义了字典
context = {'hello': 'Hello World!'}
views会把展示要的数据返回给templates即html文件中的{{ hello }}。
模板 的语法:
view:{"HTML变量名" : "views变量名"}
HTML:{{变量名}}
原文地址:https://www.jb51.cc/wenti/3282712.html
版权声明:本文内容由互联网用户自发贡献,该文观点与技术仅代表作者本人。本站仅提供信息存储空间服务,不拥有所有权,不承担相关法律责任。如发现本站有涉嫌侵权/违法违规的内容, 请发送邮件至 dio@foxmail.com 举报,一经查实,本站将立刻删除。

