Github仓库地址? https://github.com/xiaoli-guan/lab5.git
一、实验目标
1、模仿微信“发现”页创建列表布局
2、学习使用Textview imageview、LinearLayout
二、实验步骤
1、父布局实现
首先我们先设计一个父布局,垂直布局,包含所有的列组表。
新建一个空项目之后,打开res/layout/artivity_main.xml。
将androidx.constraintlayout.widget.ConstraintLayout修改为LinearLayout。
代码如下:
<?xml version="1.0" encoding="utf-8"?>
<LinearLayout xmlns:android="http://schemas.android.com/apk/res/android"
    android:layout_width="match_parent"
    android:background="#e5e5e5"
    android:orientation="vertical"
    android:layout_height="match_parent">

</LinearLayout>
2、第一个列表组
然后开始构建第一个列组表。在父布局里面再定义一个布局,在里面添加组件,及设置属性。代码如下:
<LinearLayout
        android:layout_width="match_parent"
        android:layout_height="40dp"
        android:background="#fff"
        android:orientation="horizontal">


        <ImageView
            android:layout_width="40dp"
            android:layout_height="40dp"
            android:layout_gravity="center_vertical"
            android:layout_marginLeft="15dp"
            android:background="@mipmap/icon_pengyou"/>


        <TextView
            android:layout_width="0dp"
            android:layout_height="match_parent"
            android:layout_marginLeft="10dp"
            android:textStyle="bold"
            android:textColor="#333"
            android:textSize="18dp"
            android:gravity="center_vertical"
            android:layout_weight="1"
            android:text="朋友圈"/>


        <ImageView
            android:layout_width="wrap_content"
            android:layout_height="wrap_content"
            android:layout_marginRight="15dp"
            android:layout_gravity="center_vertical"
            android:background="@mipmap/right"/>


    </LinearLayout>
可以看到,在第一个列表组里,使用了两个 ImageView 和一个TextView。前者的作用是显示图片;后者的作用是显示文字。
imageView的属性介绍如下:
layout_width:宽
layout_height:高
background:背景
src:加载图片,不会拉伸
TextView的属性介绍如下
match_parent: 自适应满屏
wrap_content: 自适应大小
layout_width:宽
layout_height:高
text: 所展现的字
textSize: 字体大小
textColor:字体颜色
textStyle:字体样式 (italic:倾斜,bold:加粗,)
gravity:在控件内部的位置(通用)
layout_margin:与其他控件的距离 (通用)
padding:内部间隔距离
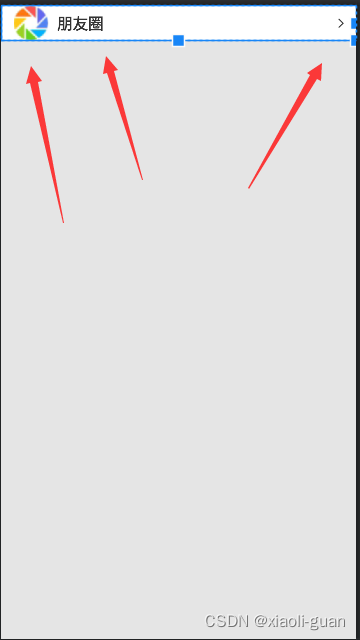
此时的效果如下:

可以看到,显示了两个图标和一条文本。
3、列表组布局
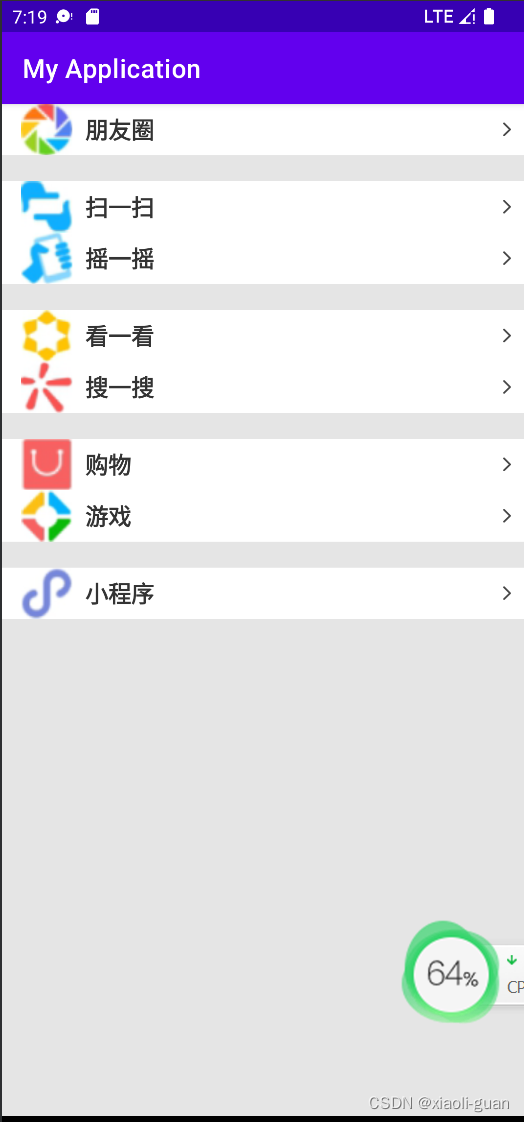
接下来我们将第一个列表组的代码依次复制在父布局内。修改图片路径和文本信息。即可显示出多个列表了。但是这样的话,列表组会紧密的接在一起。
android:layout_marginTop="20dp"
三、程序运行结果

四、问题总结与体会
本次实验十分有趣,而且十分成功,并没有遇到太大的问题。
第一次体验安卓应用开发,使我学会了不少东西,也激发了我的兴趣。页面的布局也很便捷,确实好用。但我对各种控件的使用还不是很熟悉,仍需不断学习。
版权声明:本文内容由互联网用户自发贡献,该文观点与技术仅代表作者本人。本站仅提供信息存储空间服务,不拥有所有权,不承担相关法律责任。如发现本站有涉嫌侵权/违法违规的内容, 请发送邮件至 dio@foxmail.com 举报,一经查实,本站将立刻删除。


