

1. 什么是SPA
2. 通过 hash 实现
2.1 实现思路
- 改变 url 的 Hash 值,也就是 # 后面的路径
- 通过 hashchange 来监测变化,做出对应的操作
2.2 代码实现
<!DOCTYPE html>
<html lang="en">
  <head>
    <Meta charset="UTF-8" />
    <Meta http-equiv="X-UA-Compatible" content="IE=edge" />
    <Meta name="viewport" content="width=device-width, initial-scale=1.0" />
    <title>Hash</title>
    <style>
      /* 底部区域 */
      footer {
        position: fixed;
        left: 0;
        bottom: 0;
        display: flex;
        justify-content: space-between;
        width: 100%;
      }

      footer .Box {
        display: flex;
        justify-content: center;
        width: 100px;
        height: 60px;
        text-align: center;
        border: 1px solid #ccc;
        Box-sizing: border-Box;
      }

      footer .Box button {
        background-color: white;
        border: none;
        outline: none;
      }
    </style>
  </head>
  <body>
    <div class="contaienr">
      <div class="content">我是内容区域哈哈哈</div>
      <footer>
        <div class="Box">
          <button onclick="to('home')">首页</button>
        </div>
        <div class="Box">
          <button onclick="to('mall')">商城</button>
        </div>
        <div class="Box">
          <button onclick="to('shopping')">购物车</button>
        </div>
        <div class="Box">
          <button onclick="to('user')">我的</button>
        </div>
      </footer>
    </div>
    <script>
      class MyHash {
        constructor(routes) {
          this.routes = routes;
          this.watchHash();
        }

		// 改变 hash 值
        to(path) {
          location.hash = path;
        }

        // 观察 hash 的变化,做出对应操作
        watchHash() {
          window.addEventListener("hashchange", (e) => {
            let { newURL } = e;
            let path = newURL.split("#")[1];
            let { component } = this.routes.find((item) => item.path == path);
            content.innerHTML = component();
          });
        }
      }

      let content = document.querySelector(".content");

      let myHash = new MyHash([
        {
          path: "home",
          component: () => `<h1>我是首页</h1>`,
        },
        {
          path: "mall",
          component: () => `<h1>我是商城页</h1>`,
        },
        {
          path: "shopping",
          component: () => `<h1>我是购物车页</h1>`,
        },
        {
          path: "user",
          component: () => `<h1>我是用户页</h1>`,
        },
      ]);

      function to(path) {
        myHash.to(path);
      }
    </script>
  </body>
</html>
3. 通过 history 实现
3.1 实现思路
- 在 window 上有一个 history 对象,使用该对象的 pushState、replaceState方法时,对浏览器的历史记录进行操作,页面并不会进行刷新
- 而使用
history.go,history.back(工具栏的后退),history.forward(工具栏的前进)时会触发 window 上的 popstate 方法,页面也不会进行刷新
3.2 代码实现
<!DOCTYPE html>
<html lang="en">
  <head>
    <Meta charset="UTF-8" />
    <Meta http-equiv="X-UA-Compatible" content="IE=edge" />
    <Meta name="viewport" content="width=device-width, initial-scale=1.0" />
    <title>history</title>
    <style>
      /* 底部区域 */
      footer {
        position: fixed;
        left: 0;
        bottom: 0;
        display: flex;
        justify-content: space-between;
        width: 100%;
      }

      footer .Box {
        display: flex;
        justify-content: center;
        width: 100px;
        height: 60px;
        text-align: center;
        border: 1px solid #ccc;
        Box-sizing: border-Box;
      }

      footer .Box button {
        background-color: white;
        border: none;
        outline: none;
      }
    </style>
  </head>
  <body>
    <div class="contaienr">
      <div class="content">我是内容区域哈哈哈</div>
      <footer>
        <div class="Box"><button onclick="to('home')">首页</button></div>
        <div class="Box"><button onclick="to('mall')">商城</button></div>
        <div class="Box"><button onclick="to('shopping')">购物车</button></div>
        <div class="Box">
          <button onclick="to('user','replaceState')">我的</button>
        </div>
      </footer>
    </div>
    <script>
      class MyHistory {
        constructor(routes) {
          this.routes = routes;
          this.watchHistory();
        }

        // 由于 pushState 和 replaceState 并不会触发 popState 事件,需要手动监听重写
        rewriteApi(path, type) {
          history[type]({ path }, "", "/" + path);
          this.matchCurRoute(path);
        }

        // 监听 go,back,forward
        watchHistory() {
          window.addEventListener("popstate", (e) => {
            this.matchCurRoute(e.state.path);
          });
        }

        // 路由发送变化执行对应的操作
        matchCurRoute(path) {
          let { component } = this.routes.find((item) => item.path == path);
          content.innerHTML = component();
        }
      }

      let content = document.querySelector(".content");

      let myHistory = new MyHistory([
        {
          path: "home",
          // 点击不同的按钮修改内容区域
          component: () => `<h1>我是首页</h1>`,
        },
        {
          path: "mall",
          component: () => `<h1>我是商城页</h1>`,
        },
        {
          path: "shopping",
          component: () => `<h1>我是购物车页</h1>`,
        },
        {
          path: "user",
          component: () => `<h1>我是用户页</h1>`,
        },
      ]);

      // 默认是 push
      function to(path, type = "pushState") {
        myHistory.rewriteApi(path, type);
      }
    </script>
  </body>
</html>
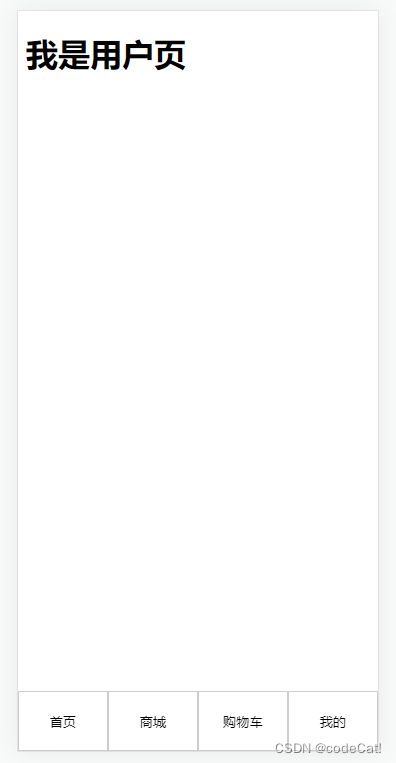
4. 效果图
原文地址:https://www.jb51.cc/wenti/3283515.html
版权声明:本文内容由互联网用户自发贡献,该文观点与技术仅代表作者本人。本站仅提供信息存储空间服务,不拥有所有权,不承担相关法律责任。如发现本站有涉嫌侵权/违法违规的内容, 请发送邮件至 dio@foxmail.com 举报,一经查实,本站将立刻删除。

