

一、精灵图
精灵技术的目的:为了有效地减少服务器结束和发送请求的次数,提高页面的加载速度
精灵技术主要针对背景图片使用,就是把多个小背景图片整合到一张大图片中
background-position:-182px 0;二、字体图标
1.字体图标:展示的图标 本质属于字体
2.优点:
3.使用:
- 字体图标下载
下载图标地址:iconmoon字库、阿里iconfont字库
- 字体图标引入html
通过css引入到页面中
  /* 字体声明 */
     @font-face {
  font-family: 'icomoon';
  src:  url('fonts/icomoon.eot?p4ssmb');
  src:  url('fonts/icomoon.eot?p4ssmb#iefix') format('embedded-opentype'),
    url('fonts/icomoon.ttf?p4ssmb') format('truetype'),
    url('fonts/icomoon.woff?p4ssmb') format('woff'),
    url('fonts/icomoon.svg?p4ssmb#icomoon') format('svg');
  font-weight: normal;
  font-style: normal;
  font-display: block;
}- 字体图标的追加
字体图标的使用:
<!DOCTYPE html>
<html lang="en">
<head>
<Meta charset="UTF-8">
<Meta name="viewport" content="width=device-width, initial-scale=1.0">
<Meta http-equiv="X-UA-Compatible" content="ie=edge">
<title>字体图标的使用</title>
<style>
/* 字体声明 */
@font-face {
font-family: 'icomoon';
src: url('fonts/icomoon.eot?p4ssmb');
src: url('fonts/icomoon.eot?p4ssmb#iefix') format('embedded-opentype'),
url('fonts/icomoon.ttf?p4ssmb') format('truetype'),
url('fonts/icomoon.woff?p4ssmb') format('woff'),
url('fonts/icomoon.svg?p4ssmb#icomoon') format('svg');
font-weight: normal;
font-style: normal;
font-display: block;
}
span {
font-family: 'icomoon';
font-size: 100px;
color:pink;
}
</style>
</head>
<body>
<span></span>
<span></span>
</body>
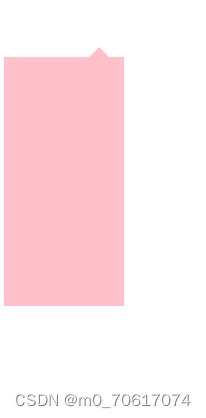
</html>三、css三角的做法
宽度和高度为0,其他边框为透明,要的三角边框给颜色
 width: 0;
 height: 0;
border:50px solid transparent;
 border-top: 50px solid pink;
案例
<!DOCTYPE html>
<html lang="en">
<head>
    <Meta charset="UTF-8">
    <title>三角</title>
    <style>
        .jd{
            position: relative;
            width: 120px;
            height: 249px;
            background-color: pink;
        }
        .jd span{
            position: absolute;
            top: -20px;
            right: 15px;
            width: 0;
            height: 0;
            line-height: 0;
            font-size: 0;
            border: 10px solid transparent;
            border-bottom: 10px solid pink;
        }
    </style>
</head>
<body>
<div class="jd">
    <span></span>
</div>
</body>
</html>四、用户界面样式
1.鼠标样式
cursor:属性值
| 属性值 | 描述 |
| default | 小白默认 |
| pointer | 小手 |
| move | 移动 |
| text | 文本 |
| not-allowed | 禁止 |
2.表单的轮廓线
给表单添加outline:0或者outline:none样式后,就去掉默认的颜色边框
3.防止拖拽文本域
resize:none
五、vertical-align属性
vertical-align:baseline|top|middle|bottom
| 值 | 描述 |
| baseline | 默认,元素放置在父元素的基线上 |
| top | 把元素的顶端与行中最高元素的顶端对齐 |
| middle | 把此元素放置在父元素的中部 |
| bottom | 把元素的顶端与行中最低的元素的顶端对齐 |
六、溢出的文字用省略号显示
1.单行文字:
必须满足3个条件:
white-space:Nowrap;(默认normal,自动换行)
- 隐藏多余的文字
overflow:hidden
- 文字用省略号替代超出的部分
text-overflow:ellipsis;
2.多行文字:
适合webkit内核浏览器或者移动端
overflow: hidden;
text-overflow: ellipsis;
/* 弹性伸缩盒子模型显示 */
display: -webkit-Box;
/* 限制在一个块元素显示的文本的行数 */
-webkit-line-clamp: 3;
/* 设置或检索伸缩盒对象的子元素的排列方式 */
-webkit-Box-orient: vertical;
七、布局技巧
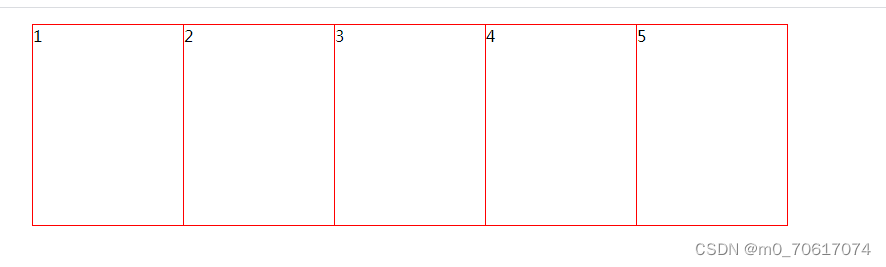
1.margin负值的运用
效果图:
<!DOCTYPE html>
<html lang="en">
<head>
    <Meta charset="UTF-8">
    <title>Title</title>
    <style>
        ul li{
            float: left;
            list-style: none;
            width: 150px;
            height: 200px;
            border: 1px solid red;
            margin-left: -1px;
        }
    </style>
</head>
<body>
<ul>
    <li>1</li>
    <li>2</li>
    <li>3</li>
    <li>4</li>
    <li>5</li>
</ul>
</body>
</html>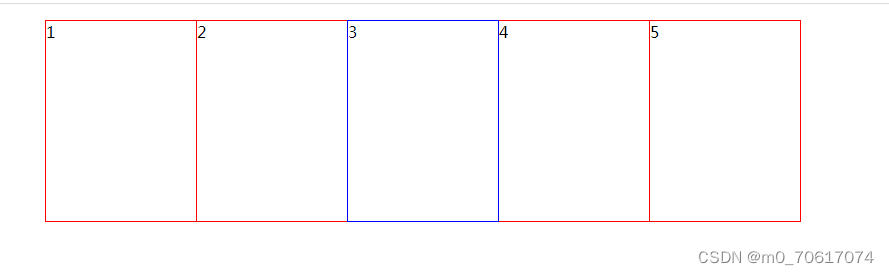
<!DOCTYPE html>
<html lang="en">
<head>
    <Meta charset="UTF-8">
    <title>Title</title>
    <style>
        ul li{
            float: left;
            list-style: none;
            width: 150px;
            height: 200px;
            border: 1px solid red;
            margin-left: -1px;
        }
        ul li:hover{
            position: relative;
            border:1px solid blue;
        }
    </style>
</head>
<body>
<ul>
    <li>1</li>
    <li>2</li>
    <li>3</li>
    <li>4</li>
    <li>5</li>
</ul>
</body>
</html>
如果有定位,用z-index
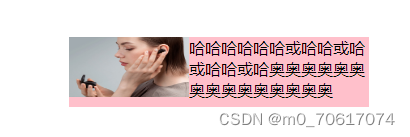
2.文字围绕浮动元素运用
<!DOCTYPE html>
<html lang="en">
<head>
    <Meta charset="UTF-8">
    <title>Title</title>
    <style>
        *{
            padding: 0;
            margin: 0;
        }
        .Box{
            width: 300px;
            height: 70px;
            background-color: pink;
            margin: 100px auto;
        }
        .pic{
            float: left;
            width: 120px;
            height: 60px;
        }
        .pic img{
            width: 100%;
            height: 100%;
        }
    </style>
</head>
<body>
<div class="Box">
    <div class="pic">
        <img src="images/img.jpg">
    </div>
    <p>哈哈哈哈哈哈或哈哈或哈或哈哈或哈奥奥奥奥奥奥奥奥奥奥奥奥奥奥奥</p>
</div>
</body>
</html>
3.行内块元素的运用

<!DOCTYPE html>
<html lang="en">
<head>
<Meta charset="UTF-8">
<Meta name="viewport" content="width=device-width, initial-scale=1.0">
<Meta http-equiv="X-UA-Compatible" content="ie=edge">
<title>行内块的巧妙运用</title>
<style>
* {
margin: 0;
padding: 0;
}
.Box {
text-align: center;
}
.Box a {
display: inline-block;
width: 36px;
height: 36px;
background-color: #f7f7f7;
border: 1px solid #ccc;
text-align: center;
line-height: 36px;
text-decoration: none;
color: #333;
font-size: 14px;
}
.Box .prev,
.Box .next {
width: 85px;
}
.Box .current,
.Box .elp {
background-color: #fff;
border: none;
}
.Box input {
height: 36px;
width: 45px;
border: 1px solid #ccc;
outline: none;
}
.Box button {
width: 60px;
height: 36px;
background-color: #f7f7f7;
border: 1px solid #ccc;
}
</style>
</head>
<body>
<div class="Box">
<a href="#" class="prev"><<上一页</a>
<a href="#" class="current">2</a>
<a href="#">3</a>
<a href="#">4</a>
<a href="#">5</a>
<a href="#">6</a>
<a href="#" class="elp">...</a>
<a href="#" class="next">>>下一页</a>
到第
<input type="text">
页
<button>确定</button>
</div>
</body>
</html>4.三角强化
效果图:
.Box1{
            width: 0;
            height: 0;
            border-color: transparent red transparent transparent;
            border-style: solid;
            border-width: 100px 50px 0 0;
        }
5.css初始化
css初始化是重设浏览器的样式
原文地址:https://www.jb51.cc/wenti/3284669.html
版权声明:本文内容由互联网用户自发贡献,该文观点与技术仅代表作者本人。本站仅提供信息存储空间服务,不拥有所有权,不承担相关法律责任。如发现本站有涉嫌侵权/违法违规的内容, 请发送邮件至 dio@foxmail.com 举报,一经查实,本站将立刻删除。

